Arrows to Previous & Next Page
Functionality
On any type of long-form content it is often very practical for your users to use arrows to navigate to the next or the previous page.
The arrows can be added in one single click and will:
- appear on every page,
- take you to the next or previous page
- on the first and last page, only 1 arrow will be displayed
You can change the icon, style the background of the arrows and so on.
Additionally, you can add two animations:
- fade the arrows out when the page is not moving / scrolling
- fade the arrows in only after the reader has scrolled down beyond the first screen
Adding the arrows
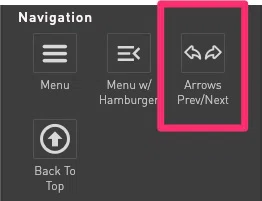
Open the Add Elements panel on the left. In the Navigation category, select the Arrows Prev/Next and double click or drag it onto the canvas.
The arrows will appear on your canvas.
Note that if you only have 1 single page, the arrows will not show yet. They will only appear if there is a next or previous page.

Styling the arrows
To style the arrows, open up the Styling tab in the menu on the left. You can use all of the available styling tools to change the default and hover design.
You can change:
- opacity
- background color
- padding
- borders
- corners
- shadows
To upload a different icon, click 'Replace Icon' and upload your new icon. This can be any of these image types: svg, gif, png.
Arrow Animations / Behavior
By default, the arrows will stay in place and visible at all times.
You have the option to change this behavior:
Fade Out When Not Moving
This option will make the arrows fade out when the user is not scrolling the page up or down.
Fade In After Scrolling Down
This option will hide the arrows when the user is 'above the fold' and will make the arrows fade in once the user has scrolled down.
Contact Support
STAY IN THE LOOP
Sign up for product updates
